

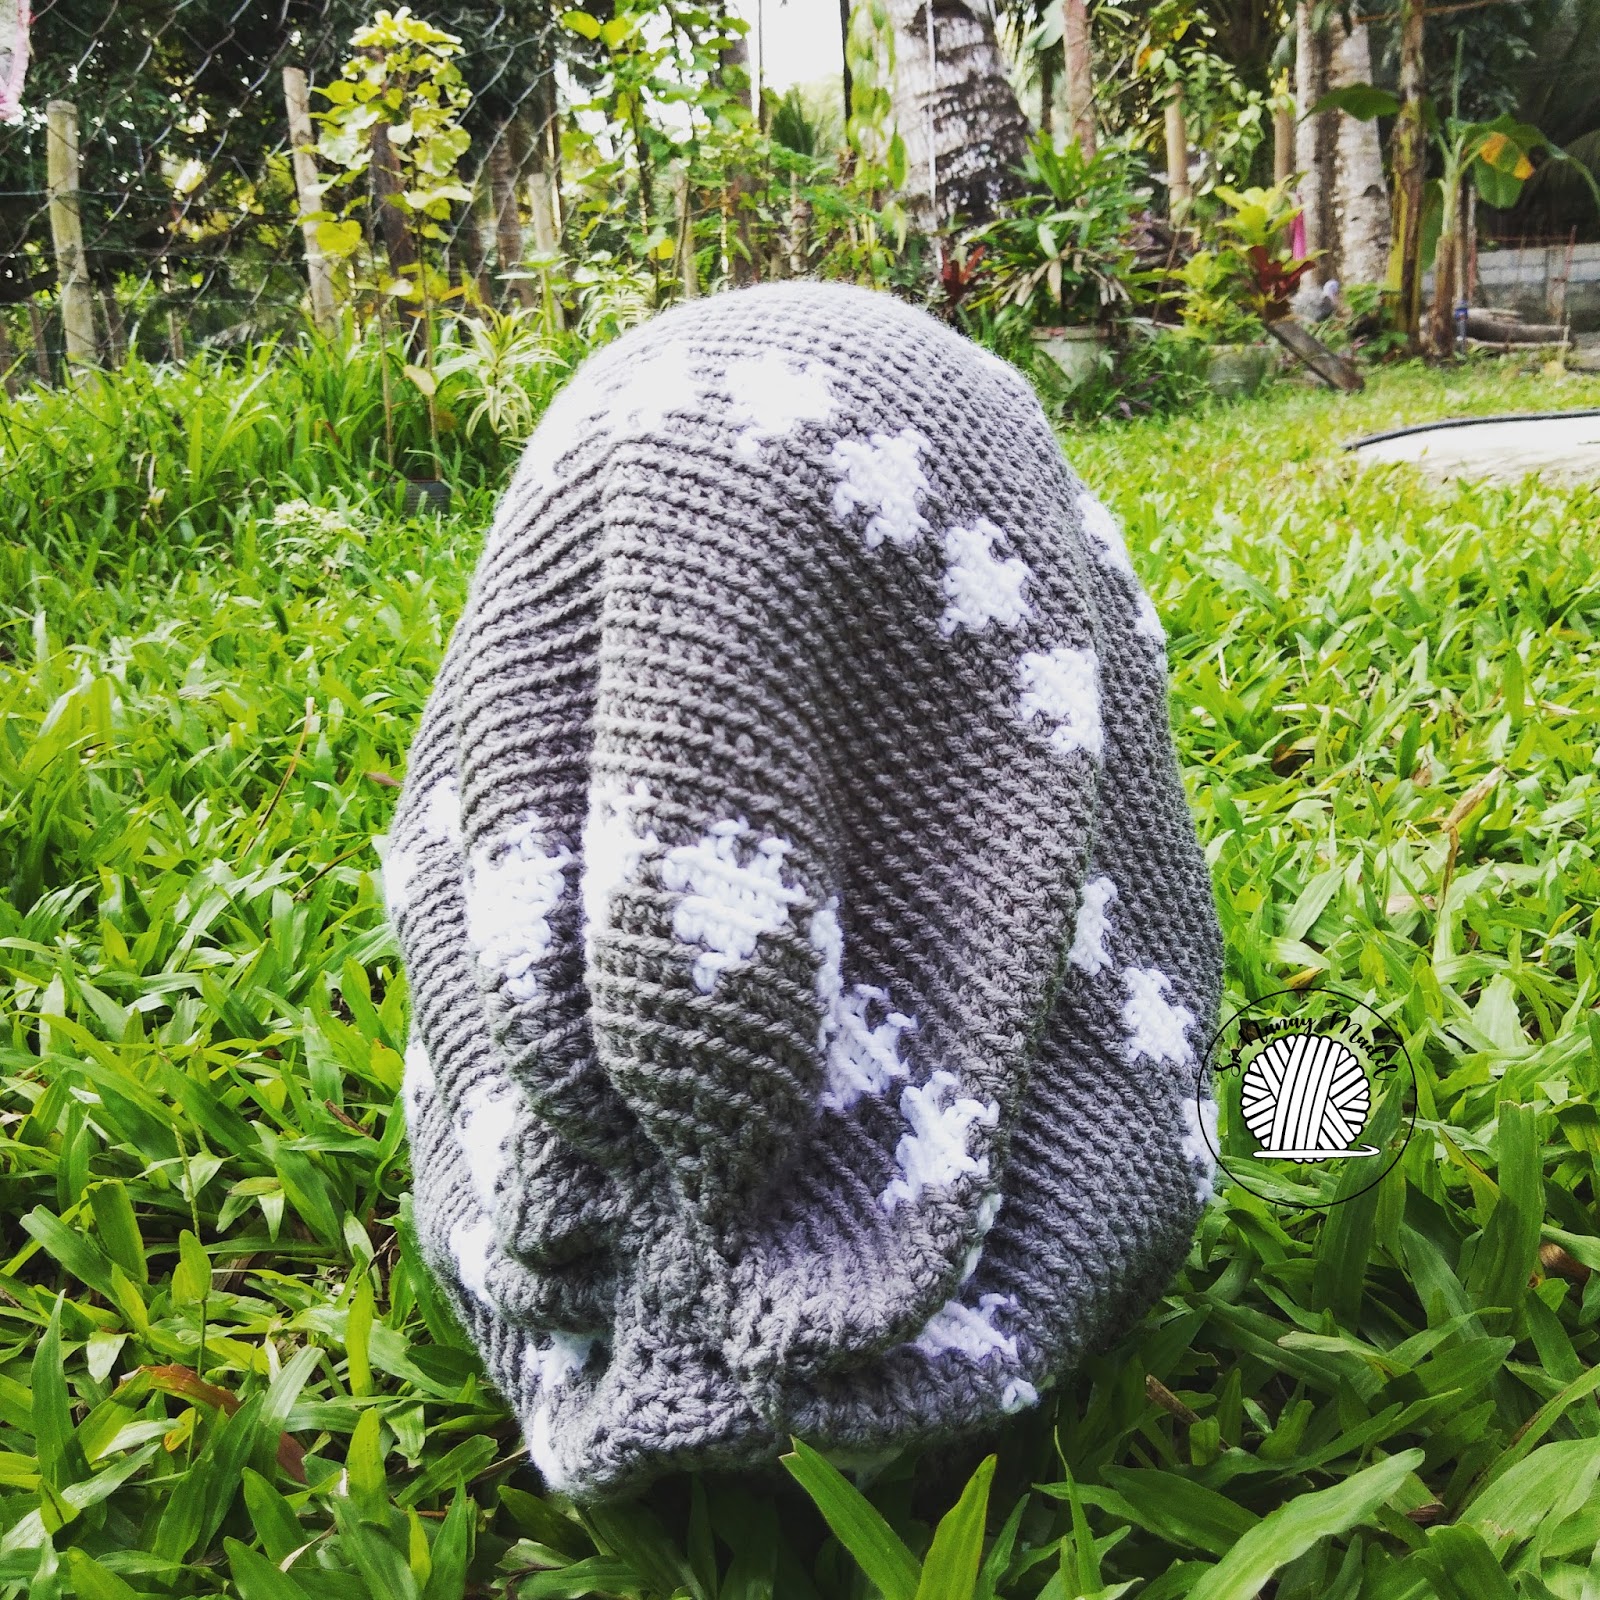
My Pink Hearts Beanie that I made last year was quite popular these days. Maybe it's because it's the Love Month (February) once again. And I got inspired and made another hearts hat. This time it's a slouchy hat. I kind of made it very slouchy and a little bigger also. But if you don't like it this big you can just stop at Round 6 and proceed to Round 8 with just 96 stitches.
But I like this hat, I've been wanting to own a hat that is big and slouchy also. And I am satisfied with this one. So here it is...
Materials
- Red Heart with Love in White and Pewter (330-350 yards)
- H/5.0mm Crochet Hook
- Stitch Markers (very important)
- Tapestry Needle
- Scissors
Gauge
- 14 rows of SC x 19 SC = 4 inch square
Terms Used
- CH(s) – Chain(s)
- SC – Single Crochet
- HDC – Half Double Crochet
- SC dec – Single Crochet Decrease
- BLO – Back Loop Only
Size
- Adult
Difficulty
- Beginner
Notes:
- All Stitches are done in the Back Loop Only (BLO) except Round 1, R41- 46.
- There is NO joining in the first stitch at the end of each round. Continue working in rounds and use your stitch markers to mark each round.
Instructions
R1. Make Magic Ring, and into the ring crochet 6 SC. Closed the ring tightly, do not join in the first stitch and continue to work in rounds. (6SC)
R2. 2 SC in each stitch around. (12 SC)
R3. 2 SC in each stitch around. (24 SC)
R5. 2 SC in each stitch around. (48 SC)
R6. 2 SC in each stitch around. (96 SC)
R7. 1 SC in first stitch, 2 SC in next. Repeat this pattern all the way around. (144SC) Note that in this round your hat will look so wriggly. It’s okay, that’s how it should look like.
Remember to make all stitches in the Back Loops Only (BLO).

R8-40. 1 SC in each stitch all the way around. (144 SC)
Below is the diagram of the hearts used in this round. By R 8 to 11 used Picture number 1, then R23-26 use Picture 2 and R37-40 use Picture 3.

R41. Work in both loops already. *SC in the first stitch, SC dec in next.* Repeat this pattern all the way around. (96 SC)
R42. *SC in the first stitch, SC dec in next.* Repeat this pattern all the way around. (64 SC)
R43-44. 1 SC in each stitch all the way around. (64SC)
R45. 1 HDC in each stitch all the way around. (64 HDC)
R46. Slip stitch in the 3rd loop in all stitches all the way around. Make your slip stitches really loose so that the brim of the hat won’t be too tight for you.
Fasten off and weave all ends.


That's it, I hope you all learn something and enjoy this post. If you have any questions, comments or suggestion just leave a message in the comment box and I will gladly answer them
Hope you enjoy making this project and don't forget to Tag me on Instagram and Twitter with your finished project and also like my Page on Facebook, Si Nanay Madel. I would love to see what you've done and Pin it also on Pinterest.
Thank you and God bless!
xoxo
Nanay Madel
Don't forget to share on Facebook, Pinterest, Twitter and more.
**Please do not copy and post any pattern from this blog and claim it as your own. This pattern is limited to personal use only. Please do not re-publish all photos from this blog as your own. You may make and sell products from my patterns. Please also link back to my post. Any link back will be much, much appreciated. Thank you very much.
Thought of the Day
February 7, 2018
The grace of Christ can accomplish for us that which all our efforts will fail to do. - CH 424
No comments:
Post a Comment