Monday, January 23, 2017

Free Pattern: 6 Beautiful Crocheted Hats


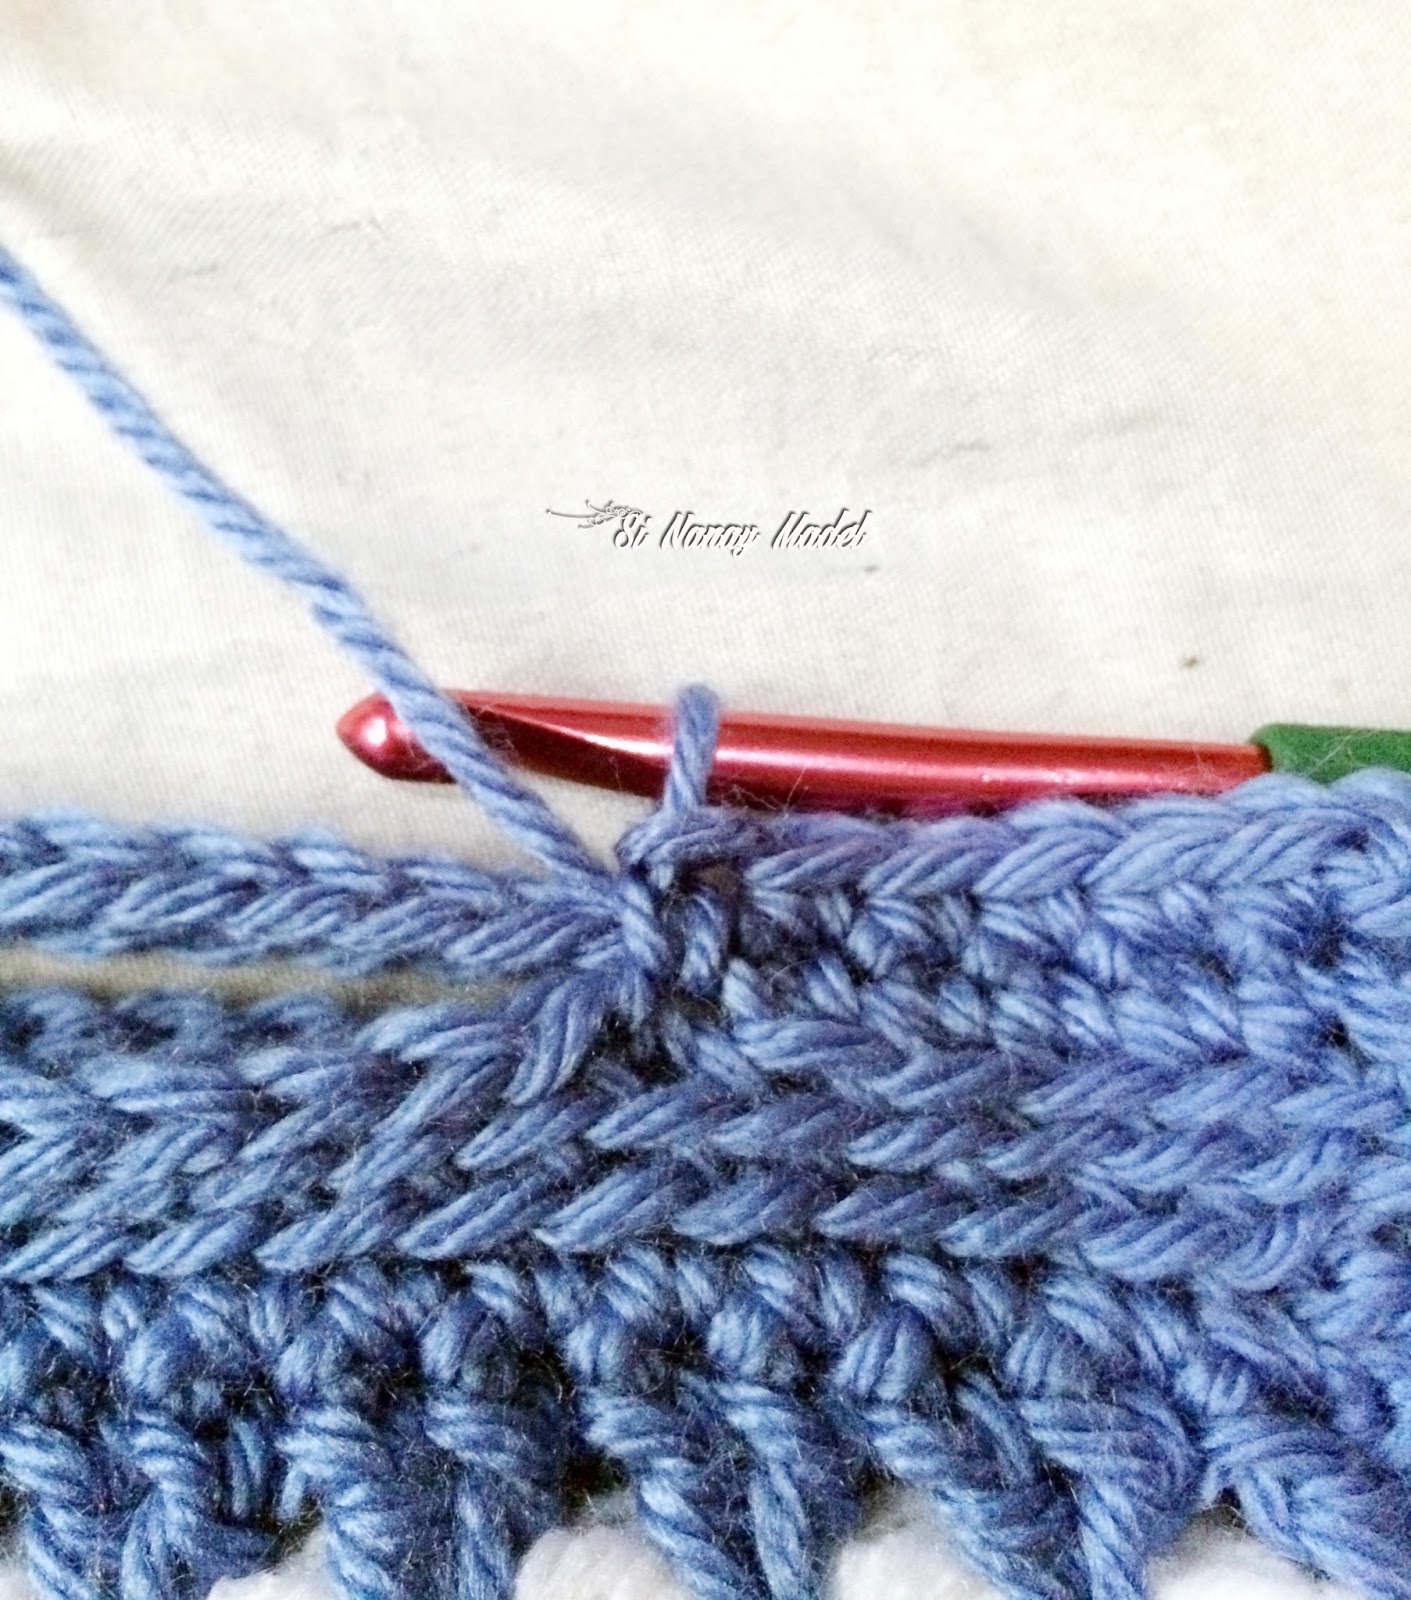
It's so obvious that I love hats. I've been making hats since I got back on doing crochet. They are easy and quick to make and also they are a necessity whatever the weather is. In this post I've picked some beautiful hats that the patterns are for free. When I googled "crocheted hats" almost all of the pictures I find are that of a messy bun hat. I've never really made one but I don't hate them that much. 

 So in this post I included a messy bun hat by Sarah of Repeat Crafter Me along with some beautiful hats form very talented designers. There are tons of beautiful hat actually, most of them made by these designers already, so when you open the link later you will be directed to their blogs and discover more beautiful hats to make. So for now here are some of the most beautiful hats I've found in the web.

  1. 1920's Cloche Hat by Olivia Kent of Hopeful Honey
  2. Carlyle Slouch Hat by Rebecca of Little Monkeys Crochet 
  3. Women Crochet Plaid Slouch hat by Bethany of Whistle and Ivy
       
  4. And again by Bethany Crochet Snowfall Slouchy Hat of Whistle and Ivy
  5. And this Mommy and Me Messy Bun Hat is so adorable by Sarah of Repeat Crafter Me
  6. And last but definitely not the least is from Olivia again of Hopeful Honey, The Classic Bubblegum Hat

And of course this post won't be complete without my own designed hats. Here are two of the hats I made recently
 The Bean Hat  and my most popular as of this writing the Easy V-stitch Hat


Don't forget to Tag me in Instagram  and Twitter with your finished project and also like my Page in Facebook, Si Nanay Madel. I would love to see what you've done and Pin it also in Pinterest.

So that's it. I hope you all learn something and enjoy this post. If you have any questions, comments or suggestion just leave a message on the comment box and I will gladly answer them. Thank you and God bless!


xoxo

Nanay Madel


Don't forget to share on facebook, pinterest , twitter and more.  
**Please do not copy and post any pattern from this blog and claim it as your own. Please do not re-publish all photos from this blog as your own. You may make and sell products from my pattern. Please also link back to my post. Any link back will be much, much appreciated. Thank you very much. **
I always make sure to share also because I learn crochet for free from some very generous bloggers. So please also click the links and support the bloggers.

Thought of the Day

January 23, 2017

We may come to Jesus with all our weakness, our folly, our sinfulness, and fall at His feet in penitence. - FLB 134

Sunday, January 22, 2017

Crochet Wristlet Pouch

A pouch and a wristlet. I was going to make this into a sling bag, but hesitated since I have so many sling bag already. I made this with a Caron Cake. It's my first time using this type of yarn although it is very popular. It is so hard to get some really good yarns here, so glad I am able to have one. I was trying out for this yarn so i just make this pouch and see what it's like. So far I like the yarn already....

So here is the pattern for this wristlet pouch.

Materials:
  • Caron Cakes
  •  H/5.0mm Crochet Hook
  •  Tapestry Needle
  • Scissors

Stitches used:
  • ch - Chain
  • st(s) – stitch (es)
  • dc – double crochet
  • sc – single crochet
  • sl st – slip stitch

Instructions:

Bottom ( Make 2)

Round 1. Make a Magic ring, then 12 dc into the ring, join with a sl st in first st. Chain 2 (12dc)

Round 2. 2 DC in each st around. Join with a sl st in first st. Chain 2 (24dc)

Round 3. DC in first st. *  DC 2 in next and DC 1 in next* repeat all around till end ending with 2 DC in a st. Join with a sl st in firs st, chain 2 (36 dc)

Round 4. DC in first st and in the next. *DC 2 in next, DC 1 in each next 2 sts* Repeat all around till end, ending with 2 DC in a st. Join with a sl st in first st, chain 2 ( 48  DC)

Round 5. DC in firs st and in each of the next 2 sts. * DC 2 in next, DC 1 in each next 3 sts* Repeat all around till end, ending with 2 DC in a st. Join with a sl st in first st ( 60 dc). Break yarn and weave all ends.

Body of the Bag

Round 6. Now that you have 2 bottom of the bag made, join them together with the wrong sides facing each other. Join them by single crocheting each stitch of round 5 together. ( 60 sc)

Round 7.  Ch 2, dc in first st. *Skip a stitch,  dc 2 in next*  Repeat all around, join with a sl st in first st (30 v-stitch)

Round 8 – Round 21. Ch 2, dc in between the ch 2 and the first dc of previous round(beg v-stitch). *  dc 2 in between the next 2 dc (v-stitch)* Repeat all around, join with a sl st in first st( 30 v- stitch)

Round 22. Ch 2, dc in first stitch and in each st around, join with a sl st in first st ( 60 dc).

Round 23. Ch 2, dc in first st. *Skip a stitch, dc 2 in next*  Repeat all around, join with a sl st in first st (30 v-stitch)

Round 24. Ch 2, dc in between the ch2 and the first dc of previous round(beg v-stitch). * dc 2 in between the next 2 dc (v-stitch)* Repeat all around, join with a sl st in first st( 30 v- stitvch)

Round 25. Ch 1, sc in first st, skip 2 st, dc 5 in next stitch, skip 2 st, *sc in first st, skip 2 st, dc 5 in next stitch,  skip 2 st, sc in next. * repeat all the way around, join with a sl st in first st  (10 shell st)
Break yarn and weave all ends.

Cord
Cord 1.Chain 40 plus 1, sl st in the 2nd ch from the hook. Sl st in each st till end.  Use this 40 chains as the handle of the pouch. Sew it on the bag.

Cord 2.Chain 55 plus 1, sl st in the 2nd ch from the hook. Sl st in each st till end.  Use this 55 chains as the cord to cinch your pouch close. Run this cord in Round 22. Insert this cord in every 5 dc.  Make sure to start to insert at your preferred center of the pouch.

Make 2 small pompoms and attached it to both ends of Cord 2


Don't forget to Tag me in Instagram  and Twitter with your finished project and also like my Page in Facebook, Si Nanay Madel. I would love to see what you've done and Pin it also in Pinterest.

So that's it. I hope you all learn something and enjoy this post. If you have any questions, comments or suggestion just leave a message on the comment box and I will gladly answer them. Thank you and God bless!


xoxo

Nanay Madel


Don't forget to share on facebook, pinterest , twitter and more.  
**Please do not copy and post any pattern from this blog and claim it as your own. Please do not re-publish all photos from this blog as your own. You may make and sell products from my pattern. Please also link back to my post. Any link back will be much, much appreciated. Thank you very much. **
I always make sure to share also because I learn crochet for free from some very generous bloggers. So please also click the links and support the bloggers.

Thought of the Day

January 22, 2017

It is Jesus glory to encircle us in the arms of His love, and to bind up our wounds, to cleanse us from all impurity. - FLB 134


Wednesday, January 18, 2017

Shell Stitch Pompom Hat


I love the shell stitches, it works out fast and it creates a beautiful stitch pattern. I have been procrastinating a lot in making this pattern and publishing it. But now it is here and I hope everyone will love this one. This pattern is listed in my Ravelry Store

You can actually make this with any type of yarn, but I love how it looks with Red Heart Unforgettable Boutique, I love how the color changes.  This pattern has also the very popular Messy Bun Hat version. 

I have never made a paid pattern, and this one is my very first. I hope you will all love this pattern as much I do.

Don't forget to Tag me in Instagram  and Twitter with your finished project and also like my Page in Facebook, Si Nanay Madel. I would love to see what you've done and Pin it also in Pinterest.

So that's it. I hope you all learn something and enjoy this post. If you have any questions, comments or suggestion just leave a message on the comment box and I will gladly answer them. Thank you and God bless!


xoxo

Nanay Madel


Don't forget to share on facebook, pinterest , twitter and more.  
**Please do not copy and post any pattern from this blog and claim it as your own. Please do not re-publish all photos from this blog as your own. You may make and sell products from my pattern. Please also link back to my post. Any link back will be much, much appreciated. Thank you very much. **


Thought of the Day

January 18, 2017

Vainglory, selfish ambition, is the rock upon which many souls have been wrecked and many churches rendered powerless. - LHU 143


Monday, January 9, 2017

V- Stitch Hand Bag


I am obsessed with this stitch. I might do more than just a hand bag and a hat for this stitch. It's so easy and so quick to do. This hand bags are easy and quick to do also. So I hope you will love this pattern and give it a try.

Materials
  • 2 Colors of Worsted Yarn ( Red Heart with Love)
  • I /5.50 mm crochet hook
  • Tapestry Needle
  • Scissors


Stitches used:
  • ch - chain
  • sc - single crochet
  • hdc - half double crochet
  • dc - double crochet
  • sl st - slip stitch


Instructions:

We'll work first by rows then at the end of Row 3, we will work in rounds.

Row 1. Chain 25. sc in 2nd ch from the hook and all the stitches till end. CH 1 and turn.

Row 2. HDC in each st (24 hdc) ch 1 and turn.

Row 3 /Round 1. HDC in each st. At the end of row 3, hdc also in the side of the last hdc or row 3, then, hdc in each side of Row 2 and 1. And continue to hdc each st in the other side of your foundation chain, then in the other side of row 1, 2 and 3. Join with a sl st in first hdc of row 3. (54 hdc)

Round 2. Chain 1, hdc each stitch around and change your color. From this point on change your color in every rounds,

Round 3. Chain 2, DC in first st, *Skip 1 st, 2 dc (V-stitch) in next* Repeat all the way to end. Join with a sl st on top of beginning ch 2. Change Color ( 27 V-stitch)

Round 4. Chain 2, DC in between ch2 and first dc of the previous round. * 2 dc (V-stitch) in between each V-stitches* Repeat all the way around. Join with a sl st on top of beginning ch 2. Change Color ( 27 v-stitch)

Repeat Round 4 until Round 12. Do not change color after you've finished Round 12.

Round 13. Chain 1, sc in each st around. Join with a sl st in first sc. (54sc)

Round 14.Slip stitch in each stitch around ( 54 sl st)

Round 15.Slip stitch in each stitch around ( 54 sl st)

Round 16.Slip stitch in each stitch around ( 54 sl st)

Round 17. Chain 1, sc in each 5 sts, chain 17 and skip 17 st, then sc in each 10 st, chain 17 and skip 17 sts, then sc in each last 5 sts. 

Round 18. Chain 1, sc in each 5 sts, sc together the start of the first chain 17 and the first unworked sl st of row 16 (just like in the picture, the one with the red arrrow). SC 20 into the first chain 17, then sc together also the last unworked sl st of row 16 and the end of the first chain 17. Then sc in each next 10 sts, sc together the start of the next chain 17 and the next unworked sl st of row 16.  SC 20 into the next chain 17, then sc together also the last unworked sl st of row 16 and the end of the next chain 17. SC in each last 5 sts. (Please refer to the pictures below)


Row 18.Chain 1, SC each stitch around , join with a sl st in first sc of the round. (64sc)

Repeat Row 18 until Row 20. Break yarn and weave all your ends.

I actually made about 3 bags last December and give it as a gift to my friends. They all love it and I am so happy that they do. It is not a very big bag, it is just a small bag, enough for your cellphone, wallet and some things that a girl need to carry all the time. 

Don't forget to Tag me in Instagram  and Twitter with your finished project and also like my Page in Facebook, Si Nanay Madel. I would love to see what you've done and Pin it also in Pinterest.

So that's it. I hope you all learn something and enjoy this post. If you have any questions, comments or suggestion just leave a message on the comment box and I will gladly answer them. Thank you and God bless!


xoxo

Nanay Madel


Don't forget to share on facebook, pinterest , twitter and more.  
**Please do not copy and post any pattern from this blog and claim it as your own. Please do not re-publish all photos from this blog as your own. You may make and sell products from my pattern. Please also link back to my post. Any link back will be much, much appreciated. Thank you very much. **
I always make sure to share also because I learn crochet for free from some very generous bloggers. So please also click the links and support the bloggers.


Thought of the Day

January 9, 2017

The Lord Jesus Christ has infinite tenderness for those whom he has purchased at the cost of his own sufferings. - CE 146

Tuesday, January 3, 2017

Easy V-Stitch Hat


V-stitches are so easy to make and they are so beautiful. You never know how easy it is to make by looking at the finished product. And have you ever combine two different type of yarn in a project? here I used Red Heart with Love and Red Heart Super Saver. I choose this yarn not because of the type but because of the colors and the availability. So here is my quick and easy V-stitch hat. Hope you all enjoy making this hat.


Materials
  • Red Heart With Love in Hot Pink-Color A
  • Red Heart Super Saver in Baby Pink-Color B
  • I /5.50 mm crochet hook
  • Tapestry Needle
  • Scissors


Size

Adult Size


Stitches abbreviation used:
  • ch - chain
  • sc - single crochet
  • dc - double crochet
  • sl st - slip stitch
  • BLO - back loops only
  • beg. V-stitch- Beginning V-stitch ( 2dc in a stitch)
  • V-stitch


Instructions:

This Pattern starts from the ribbing and working in rows then after the ribbing will be working in rounds.

Row 1. With the Color A. Chain 9, sc in 2nd ch from the hook. SC in all stitches (8sc). Chain 1, turn.

Row 2. SC in first st. SC in next and the rest in BLO. Chain1, turn.

Row 3- Row 60. Repeat Row 2. Then join both ends of the ribbing together with by sl st each st together or you can also whip stitch them together. Whichever you like. Then we will work in round this time all the way up to the top of the hat. Weave all ends and fasten off.

Main Hat

Round 1. With Color A still attached at the joining of the ribbing, chain 1, sc in same st, sc in each st all the way around. Change to Color B. Join with a sl st in first st of the round. (60sc) 

Round 2.  Chain 2, dc in same stitch (beg. V-stitch made). *Skip one (1) st, 2 dc (V-stitch) in next stitch* Repeat all the way around. Change to Color A before joining with a sl st on top of the beg. V-stitch. (30 V-stitch)

Round 3. Chain 2, dc in same stitch (beg. V-stitch made). *V-stitch in between the V-stitch(2dc) of the previous round.* Repeat all the way around. Change to Color B before joining with a sl st on top of the beg. V-stitch. (30 V-stitch)

Round 4. Chain 2, dc in same stitch (beg. V-stitch made). *V-stitch in between the V-stitch(2dc) of the previous round.* Repeat all the way around. Change to Color A before joining with a sl st on top of the beg. V-stitch. (30 V-stitch)

Round 5-Round 12. Repeat Round 3 and 4. You can add more rounds if you want your hat to be more slouch than what I've done.

Round 13. Chain 2, dc in the same stitch (beg. V-stitch made). *V-stitch in between the V-stitch(2dc) of the previous round, V-stitch in next v-stitch, then 1 dc in next (v-stitch decrease), and also 1 dc in the next v- stitch of previous round, then a full V-stitch in next* Repeat all the way around, ending with 2 v-stitches dec. Change to Color B before joining with a sl st on top of the beg. V-stitch. You'll have 3 full v-stitch followed by 2 v-stitch decreases in repeats. (18 Full V-stitch and 12 v-stitch dec. or 1 dc.)

Round 14. Chain 2, dc in same stitch (beg. V-stitch made). *1 V-stitch each into the next 2 V-stitches, V-stitch in between the V-stitch dec or in between the two lone dc of the previous round, V-stitch in next.* Repeat all the way around till end. Change to Color A before joining with a sl st on top of the beg. V-stitch. (24 V-stitch)

Round 15.  Chain 2, dc in same stitch (beg. V-stitch made). *DC in next (v-stitch decrease) and in the next v- stitch of previous round, then full V-stitch in next* Repeat all the way around, ending with 2 v-stitches dec. Change to Color B before joining with a sl st on top of the beg. V-stitch. (8 Full V-stitch and 16 v-stitch dec. or 1 dc)

Round 16.  Chain 2, dc in same stitch (beg. V-stitch made). *V-stitch in between the V-stitch dec or in between the two lone dc of the previous round, then V-stitch into the next V-stitch.* Repeat all the way around till end. Change to Color A before joining with a sl st on top of the beg. V-stitch. (16 V-stitch)

Round 17. Chain 2, dc in next V-stitch, dc in all v-stitches. Join with a sl st on top of the first st. (16 dc) Cut yarn and leave a long tail for gathering the crown or sewing the hole at the top close. 

Make your pompoms and attached it to your hat. It may look too complicated for you but as you go along you will know that it is a very easy pattern. I love this stitch and I might make more project out of this stitch. So stay tuned.


That's it, I hope you all learn something and enjoy this post. If you have any questions, comments or suggestion just leave a message in the comment box and I will gladly answer them. And don't forget to Tag me on Instagram and Twitter with your finished project and also like my Page on Facebook, Si Nanay Madel. I would love to see what you've done and Pin it also on Pinterest. Thank you and God bless!


XOXO

Nanay Madel


Don't forget to share on Facebook, Pinterest, Twitter and more. Go check my Ravelry Store for more patterns. 


**Please do not copy and post any pattern from this blog and claim it as your own. This pattern is limited to personal use only.  Please do not re-publish all photos from this blog as your own. You may make and sell products from my patterns. Please also link back to my post. Any link back will be much, much appreciated. Thank you very much.

Thought of the Day

January 3, 2017

We are daily working out our destiny. We have a crown of eternal life to win, a hell to shun. - OHC 163